EXAScaler Cloud application can be launched on Microsofts Azure platform by navigating to the link below and selecting GET IT NOW
The steps below will show how to create a EXAScaler Cloud Cluster on Microsoft Azure platform.
You will need an Azure account. Sign in.
Login to your account and go to the dashboard.
You can get to the dashboard from anywhere by clicking on the blue "Microsoft Azure" in the upper left corner of the GUI.
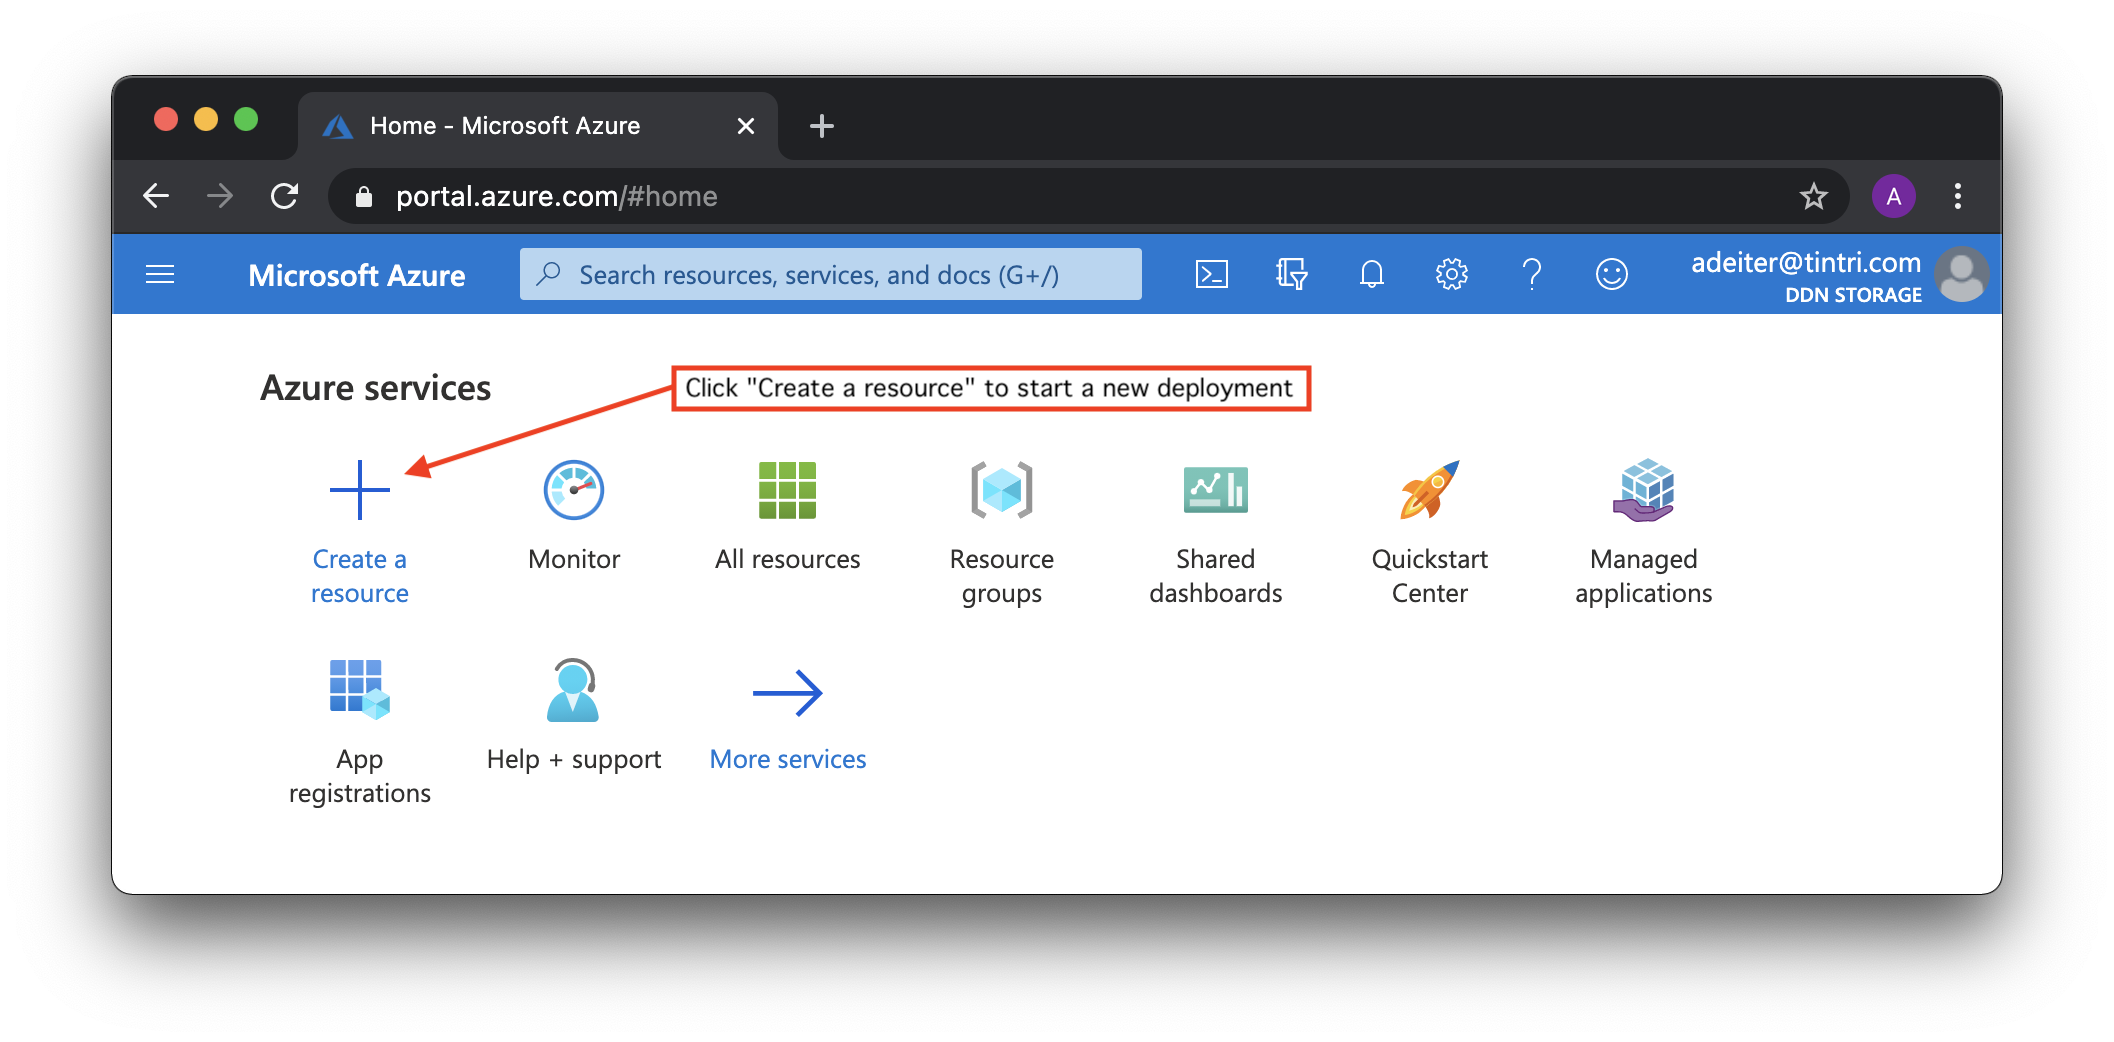
To get started click on "Create a resource" to get ready to start deployments of a new instance of EXAScaler Cloud:

In the search box that appears, type "EXAScaler Cloud" and hit return. For some reason the completions that start to show up do not work as expected:

Click "Create" button:

EXAScaler Cloud environment can be deployed as a standard Azure application using the Azure Marketplace. And the installation wizard is used to deploy it. Installation wizard contains few configuration steps:
Basic step contains Project details:
Instance details:

Security step required to select user name and authentication parameters to remote access to the management server. And Microsoft Azure provides two options for
authentication: password and SSH key-based authentication:

Network step to configure Azure Virtual Network which enables resources to securely communicate with each other. And the subnet inside the virtual network where EXAScaler Cloud virtual machines will be deployed to.
We can create a new virtual network for deployment or we can use an existing network, for example, if we already have an environment with clients that need a HPC storage:

Lustre Filesystem name - this will be name of your lustre filesystem and also prepended to the names oVM hosts. For example here it is specified as ldemo so our MGS node will be ldemomgs.
TODO